
I built Holler Box for myself, so naturally I use it on my own sites.
Here are just a few ways I use it, hopefully this gives you some ideas on how you can use it on your site.
Announce a Webinar
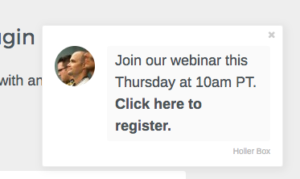
When I announce a webinar, I create a new Holler Box that says something like this:
Join our webinar this Thursday at 10am PT. Click here to register.
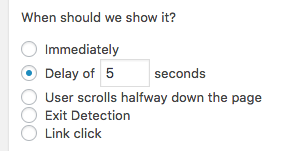
I leave all of the default settings (all pages, all visitors, etc) except that I add a delay of 5 seconds to display it.
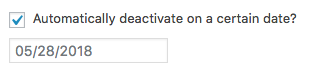
In the Pro version, I can also set it to deactivate on a certain date, like the day after the webinar.
Email Opt-in
I use Holler Box to collect opt-ins for my ebook, which connects to my Convertkit account.
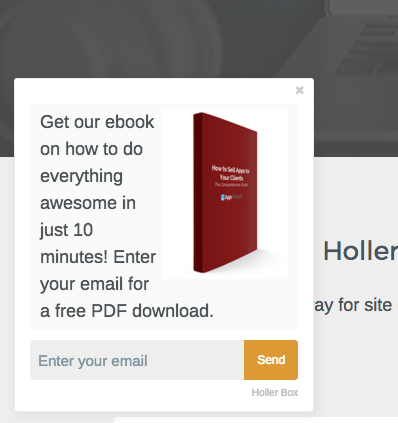
Subscribers are automatically added to my list, and sent a PDF download. To set this up, I create a new Holler Box and add my image and text.
<img src=”https://mysite.com/ebook.png” /> Get our ebook on how to do everything awesome in just 10 minutes! Enter your email for a free PDF download.
I changed the position to bottom left, and add my email integration settings for Convertkit. I show the opt-in only on certain pages, like home, features, blog, etc. I don’t want it to show on my pricing or checkout page, because I don’t want to distract people from purchasing.
I choose to show it only to logged-out visitors, and I like the “User scrolls halfway down the page” setting for this. I delete the gravatar email setting, because I’m showing the ebook image instead of an avatar.
Sales Notifications
I like adding in the sales notifications as a really subtle touch that people only see once.
This provides social proof that people are buying your product, which can increase your conversion rates. Sales notifications can be connected to Easy Digital Downloads or WooCommerce with Holler Box Pro.
I set this up by first creating a new Holler Box, and adding a default message such as:
Scott just bought Holler Box Pro.
This message will only show if there’s an error, so you don’t have to worry about what it says. In the settings, I show it to all logged out visitors, only on the features, pricing, and checkout pages. I don’t need to show this to a casual blog post reader, only to people with purchase intent.
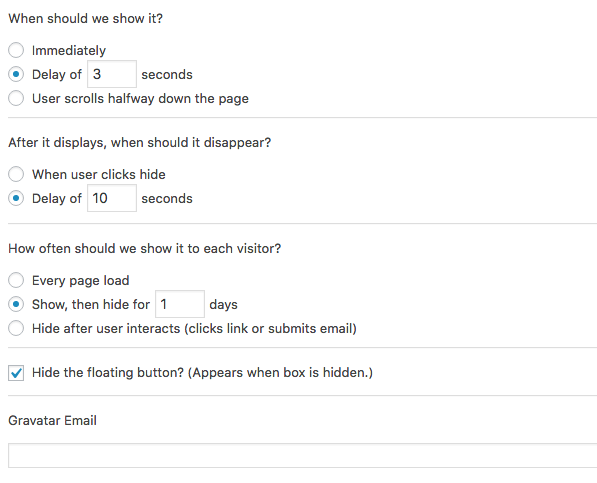
Next, I give it a delay of 3 seconds to show, then 10 seconds before it disappears. I hide it for 1 day after it shows, that means that the visitor will only see it once per day. This makes sure the visitor will not see the same sale notification, because hopefully you have at least one sale per day 🙂
I also hide the floating button, because this is not something a visitor needs to re-open manually. Here’s a screenshot of all of those settings:
Holler Banner
I use the Holler Banner every time I do a discount on my products. It’s an easy way to increase the number of sales I get when doing a promotion.
To setup the banner, I create a new Holler Box and choose top banner for the position. I add a message something like this:
Last chance! Get 30% off Holler Box Pro, ends today. Use code HOLLABACKGIRL. View pricing =>
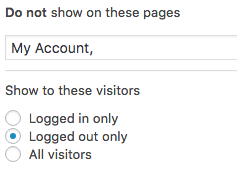
I show it to all logged-out visitors on every page except the Account page, which should prevent most current customers from seeing it.
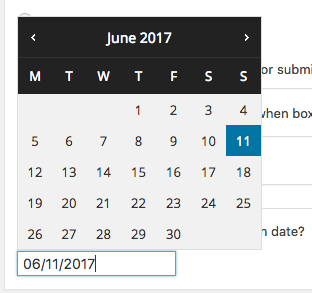
The automatic deactivation date works great for a promotion, because I set my sale to end on a certain day, and I just set the banner to deactivate on that day. That way I can set it and forget it.
There are about a million ways to configure Holler Box, that’s just a few ways I like to use it. How do you use it? Holler back!
Hello, it looks amazing ¡¡ only 1 question: ¿¿ does holler box function / sync / connect with SENDINBLUE mail marketing ?? I mean, optin fields.
I use sendinblue for mailing and I’m interested in Holler box, so I want to know if it is going to work well.. ??
Thanks a lot,